
Understanding 9 Slice Objects in Game

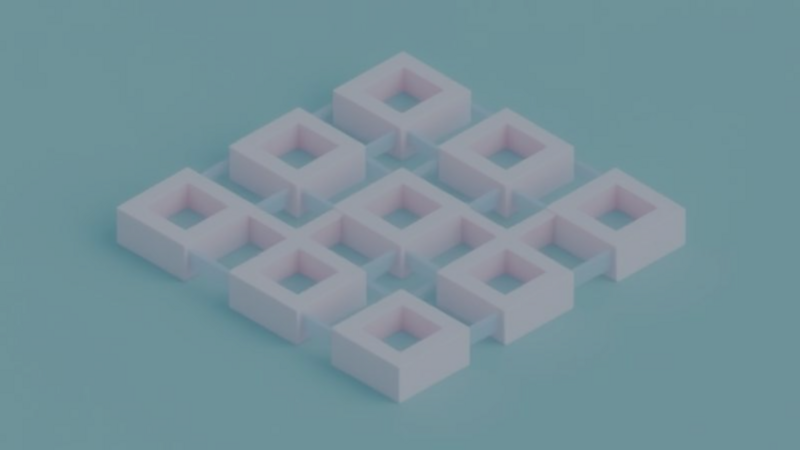
9 Slice Objects (sometimes called 9 Patch) are Objects with margins you set yourself. The margins divide an image into 9 sections and change the way the Object scales.
9 Slice Objects are often used for user interfaces, or for any part of a project that needs to keep its look when it scales.
When you resize a 9 Slice Object, three things usually happen:
- The corners get moved.
- The side areas get stretched.
- The middle section gets scaled.
Start with the Graphic below and try scaling it. You’ll see the difference between a 9 Slice Object and a regular Graphic right away.
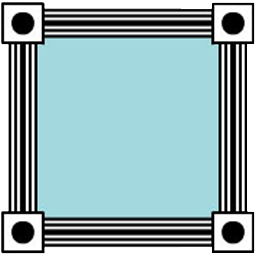
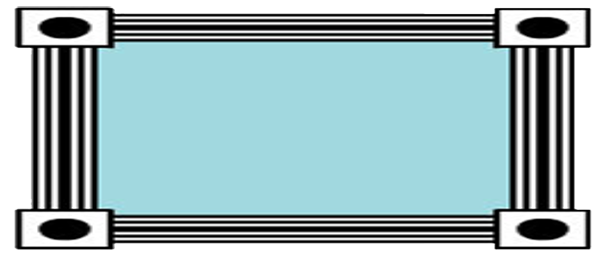
Here’s a regular Graphic (no 9 Slice margins) scaled horizontally to 230%. Notice how the corners stretch and no longer look square.
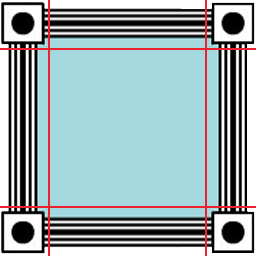
Now convert the original Graphic to a 9 Slice Object with 20% margins (the red lines).
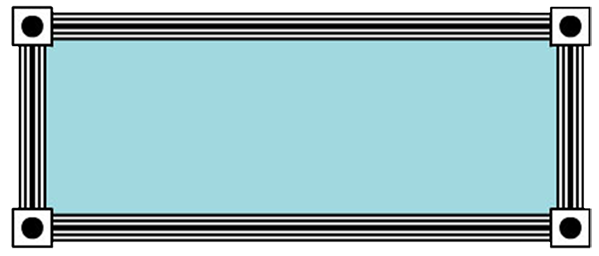
Scale the 9 Slice Object to the same 230% horizontally, and the corners keep their shape.
Creating 9 Slice Objects
You can turn any Graphic into a 9 Slice Object. Open the Asset Library, then go to the Graphic you want to convert.
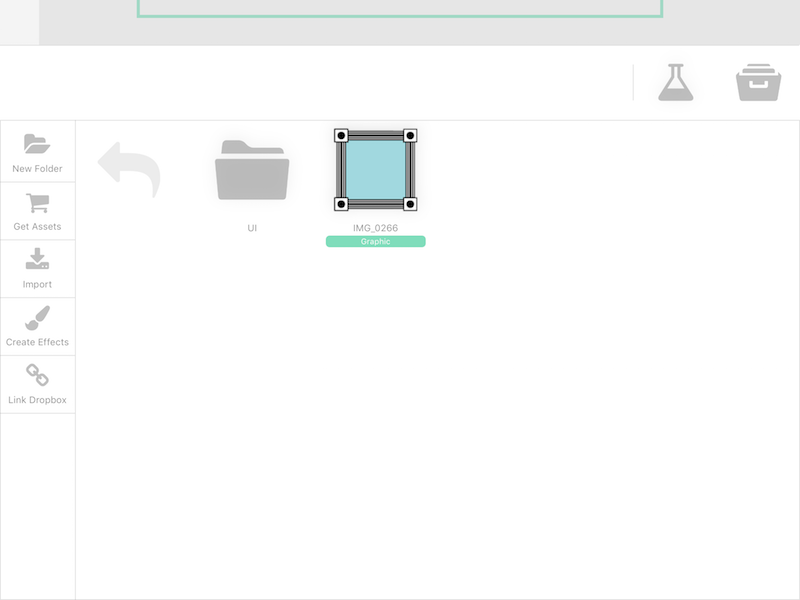
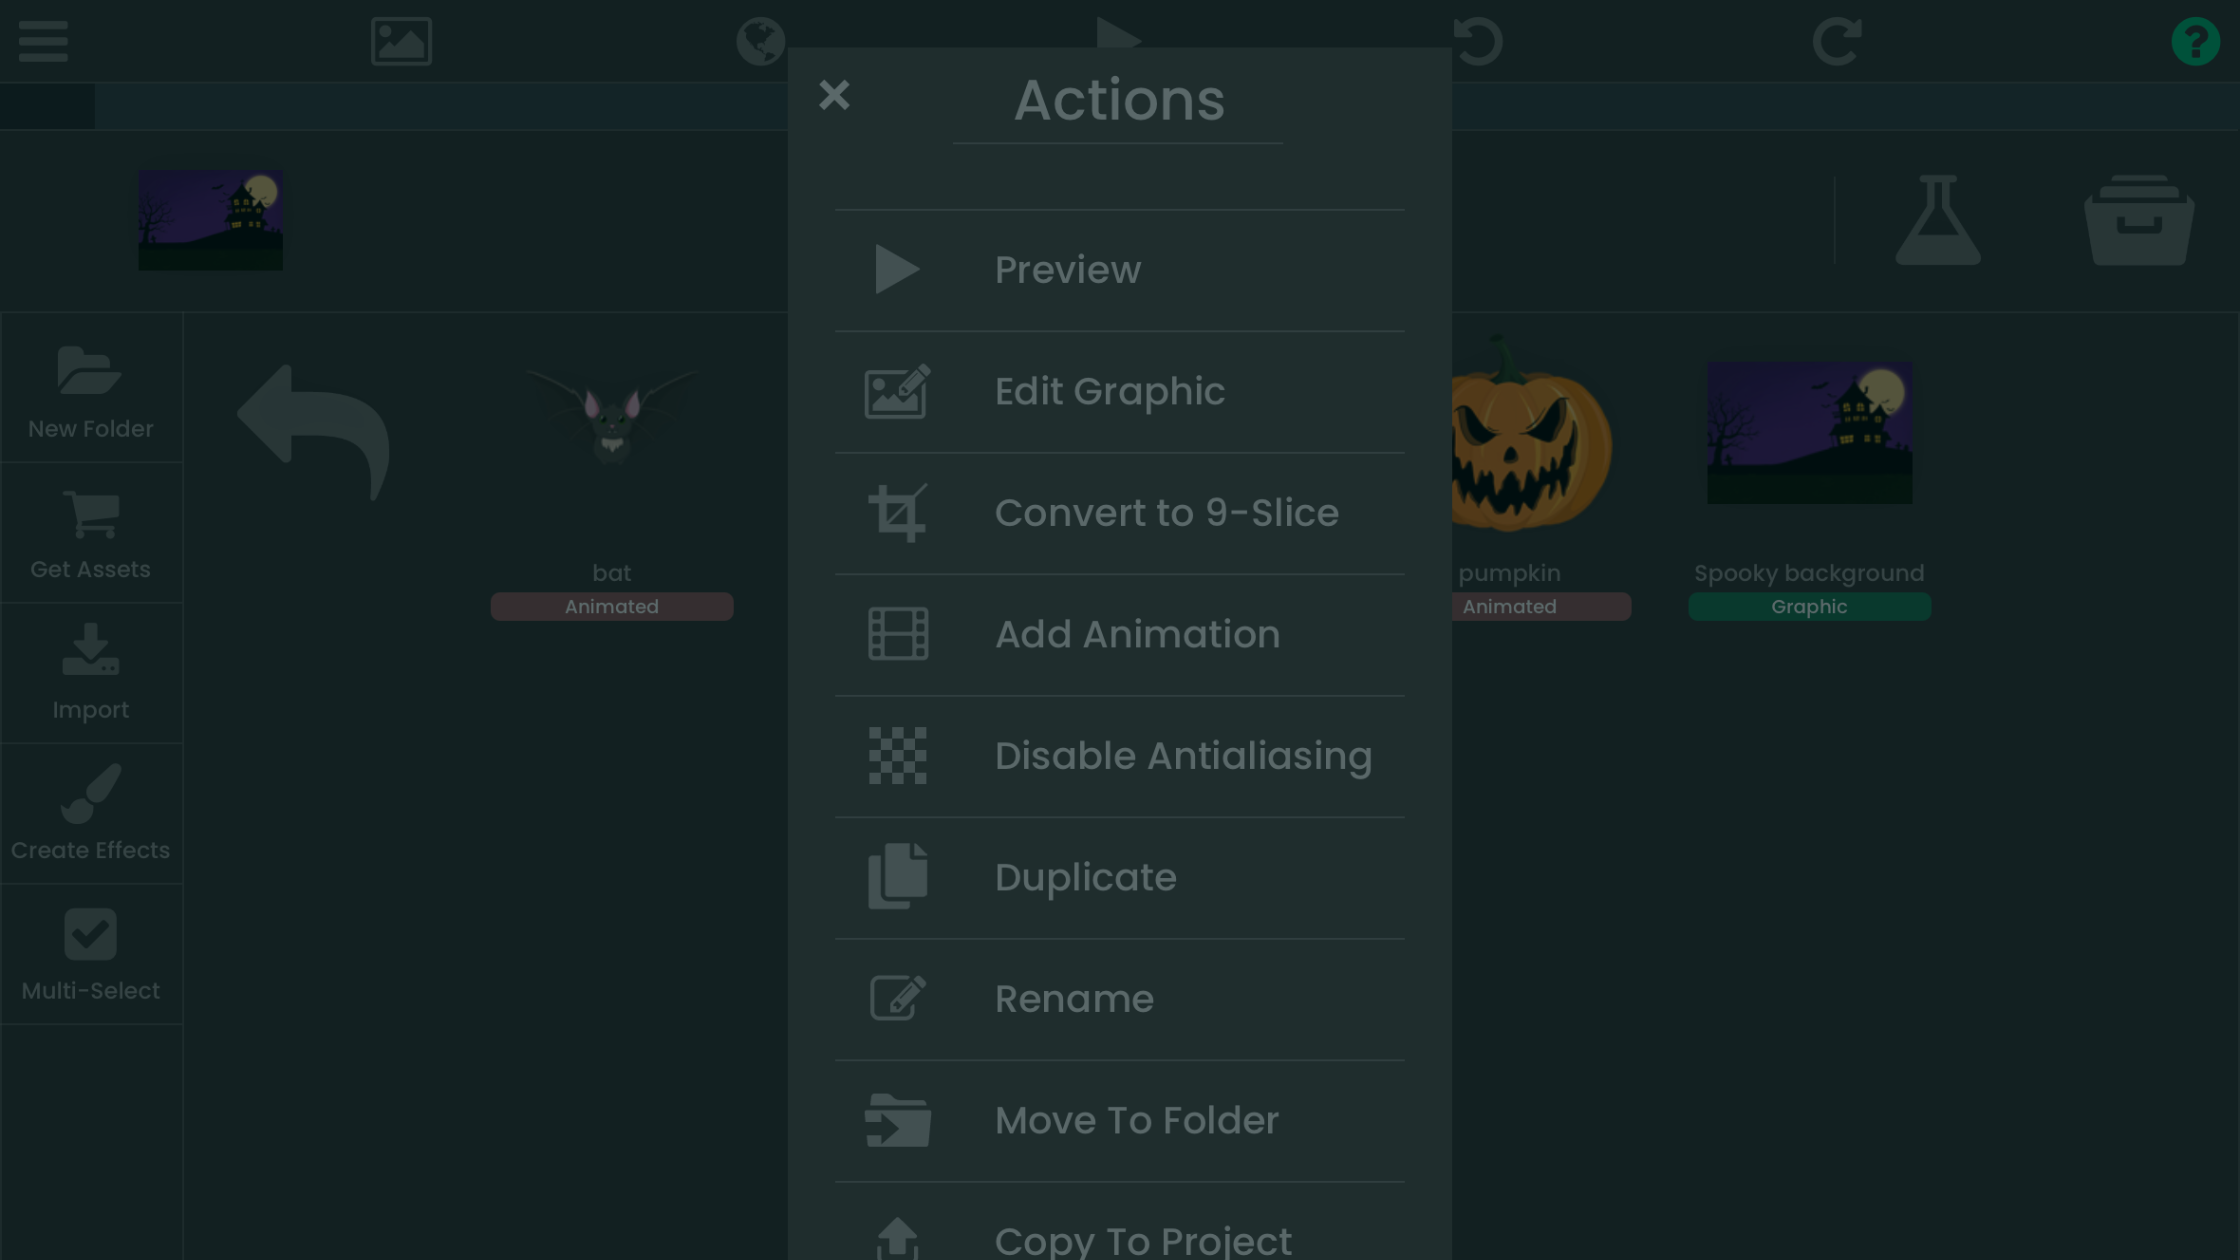
When you find your Graphic, touch and hold it until the Asset Menu appears. From the Asset Menu, select "Convert to 9-Slice".
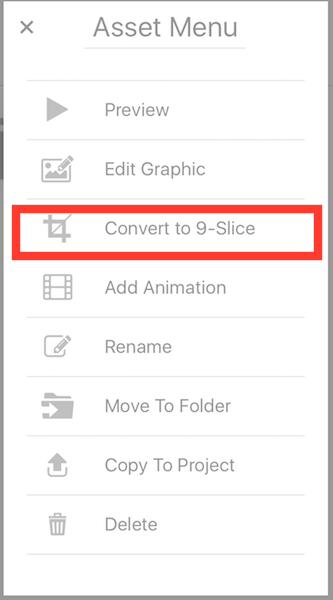
Converting to 9 Slice creates all the margins at 40% for you.
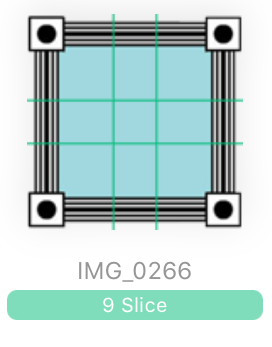
Modifying Default Margins
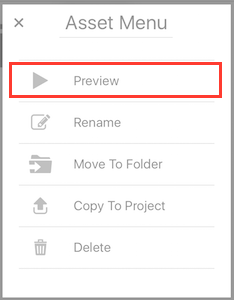
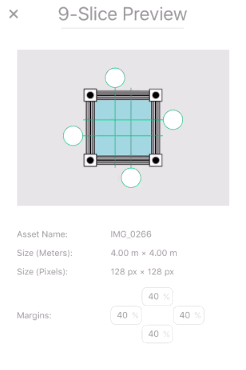
To change the default margins, select "Preview" from the Asset Menu.
The "9-Slice Preview" shows the margin lines on your Graphic. It also has input fields with each margin’s position, as a percentage of your Graphic.
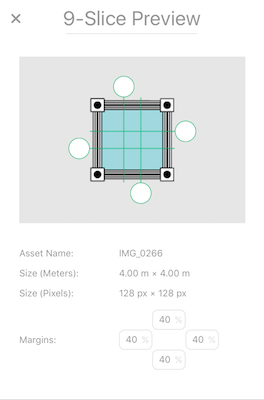
To change a margin, touch and drag the white circle on its line, or type the number in manually. When you drag a margin line, its input field updates to the new percentage.
Modifying Object Specific Margins
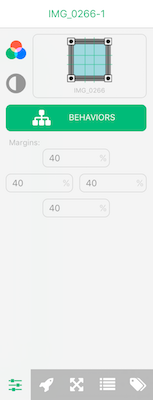
You can also change the margins of each 9 Slice Object you add to your Scene without affecting the original 9 Slice Object.
Tap the 9 Slice Object on your canvas. In Object Properties, switch to the General Properties tab (the first tab).
In the General Properties tab, you can see the 4 margins and change their positions manually.
9 Slice Objects keep scalable Graphics looking right in your games and apps. In hyperPad, converting and adjusting them takes a few taps, so your buttons, panels, and other interface elements stay clean at any size. Try converting one of your own Graphics and see the difference.